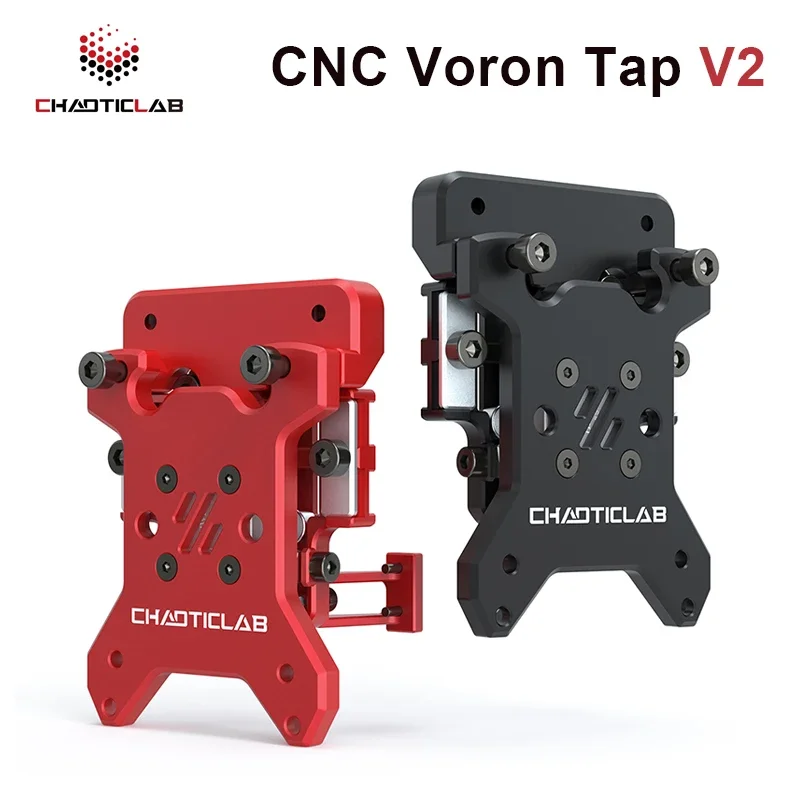
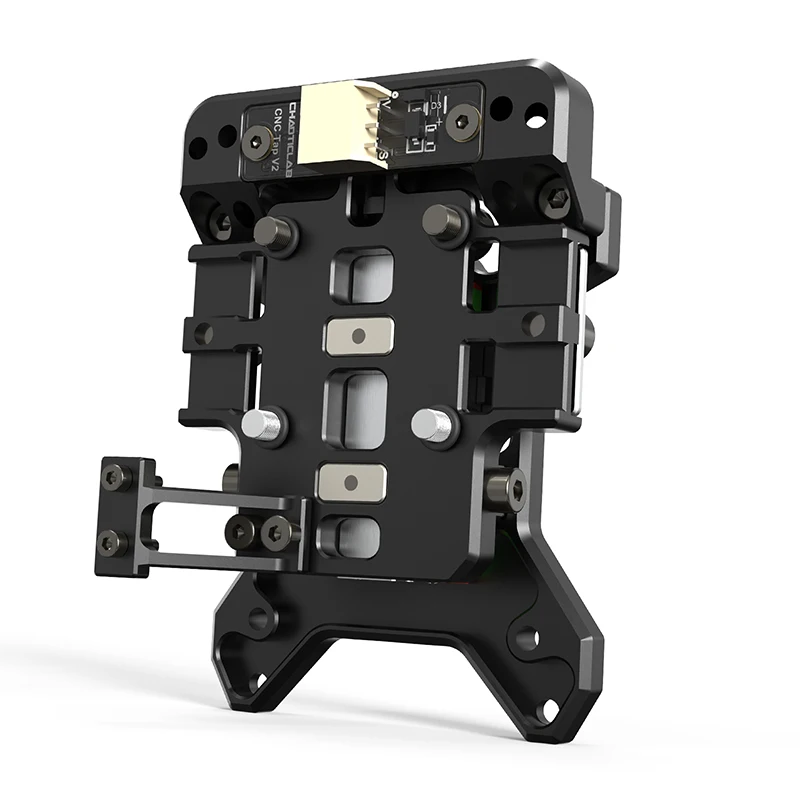
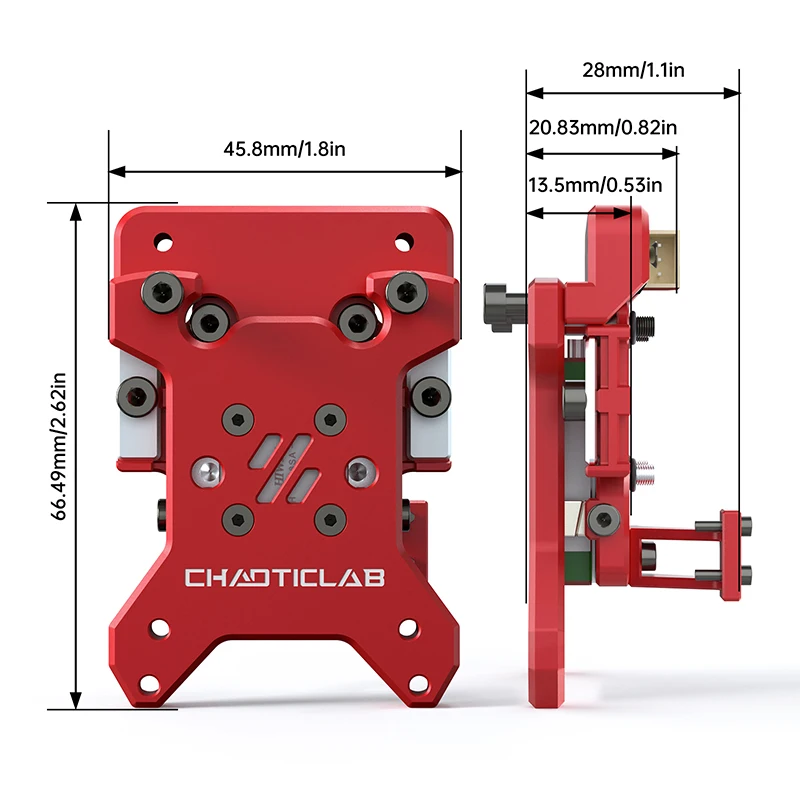
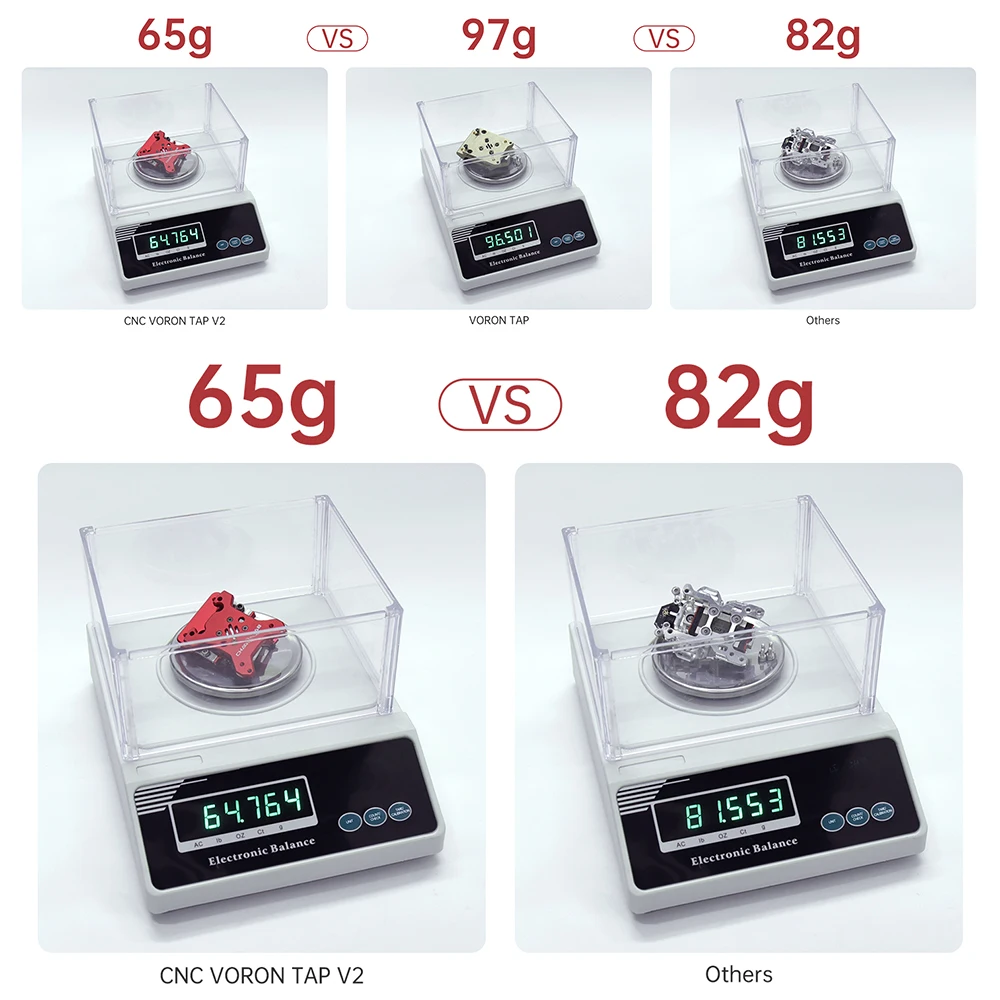
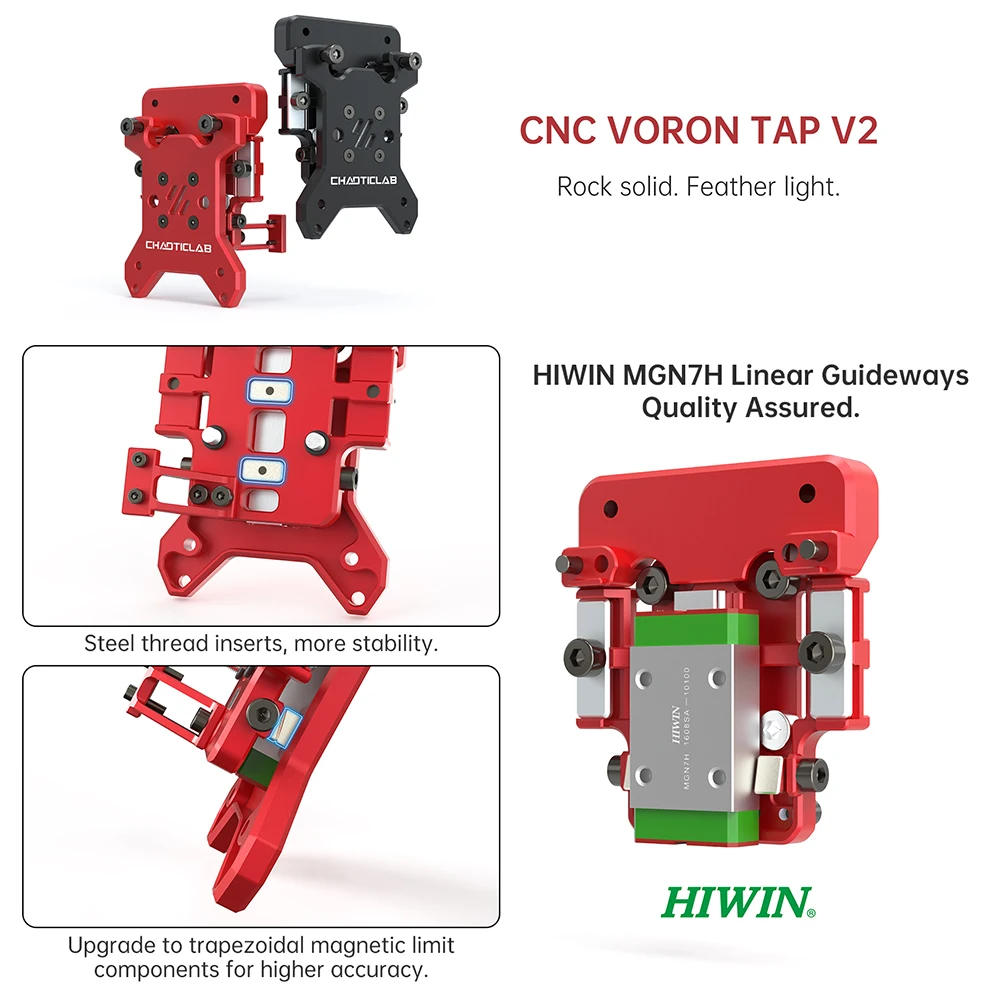
*When using the CNC VORON TAP V2 with the Carbon Fiber Tube Kit for Voron2.4 X-Axis (300)\ (350), an additional printed part is required to adjust the mounting position of the X-axis limit switch bracket. You can access the following link to obtain the print file:
https://github.com/Chaoticlab/CNC-Tap-for-Voron/tree/master/STL/CNC_VORON_TAP_V2
USE MANUAL:
https://github.com/Chaoticlab/CNC-Tap-for-Voron/tree/master/Manual

NOTE:
XY TRAVEL INFLUENCE:
The thickness of the CNC VORON TAP V2 is similar to that of the 2.4R2 X carriage, so no adjustments to the relevant settings are necessary.
HARDWARE REQUIREMENTS:
YOU MUST USE THE MGN12H X-AXIS
You must already be using the MGN12 based X-Axis. CNC VORON TAP V2 does not fit on the older MGN9 based X-axis.
CW2 STYLE MOUNTED EXTRUDER REQUIRED
CNC VORON TAP V2 replaces the X-carriage mount, and requires that the mounting screws come in from the front of the carriage like CW2, not the back like CW1. There are mounts for LGX and Galileo available.
BED MOUNT MUST BE SECURE
When CNC VORON TAP V2 is probing, the nozzle will contact the bed with a force of approximately 500-800 grams. Your bed should not move during this. Bed motion compromises the accuracy of CNC VORON TAP V2, so it is not recommended for Voron 1.8, Legacy, or Switchwire designs.
If you want to know if CNC VORON TAP V2 is right for you, tap your finger on the bed firmly. If the bed moves, CNC VORON TAP V2 is not right for you.
GOOD MECHANICAL CONDITION
CNC VORON TAP V2 is far more precise than previous Z sensing systems, and we have found it can reveal previously unnoticed problems in a printer. If your printer has known mechanical issues (such as cracked components) fix them before.
LUBRICATING LINEAR RAILS
Linear rails ship with oil that is designed to prevent corrosion during the shipping and storage process. This oil should be replaced with a lubricant of your choice. We recommend using an NLGI0 or NLGI1 rated grease. WD-40 makes a good white lithium grease with a spray applicat or nozzle that works well in this application.
FOLLOW THE STEPS BELOW TO GREASE YOUR RAIL WITHOUT DISASSEMBLY:
1. Use WD-40 degreaser or another degreaser of your choice and spray directly into the ball bearing area indicated by the arrow. Ensure that you spray liberally on both sides and run the block up and down the rail several times after spraying.
2. Drop a few drops of isopropyl alcohol down the rail on either side to flush out the WD-40 degreaser.
3. Spray your lubricant on either side of the rail liberally and run the block up and down the
rail repeatedly to allow the lubricant to reach all of the balls within the block.
Advantage:
【New design】No need to use tools to adjust the Z-axis belt tensioning, just toggle the pulley to adjust
【Adjustable Flex】 A very useful upgrade part for Voron 2.4 series printers, the belt can be adjusted freely, better than the original one. Adjusting the belt is easier, more precise and better printing, at any time by turning the dial by hand to adjust.
【Easy Assembly】 You can easily assemble it to your printer, it is very easy to install and use
【Material】Black and Red Color Scheme, aluminum alloy material, upgrade tension tensioner to adjust the belt freedom, the effect is better, very practical
【Note】This Synchronized Belt Stretch Straightener Kit Suitable for printing on any size of Voron 2.4 printer.